Build your own cash and cashless register box.
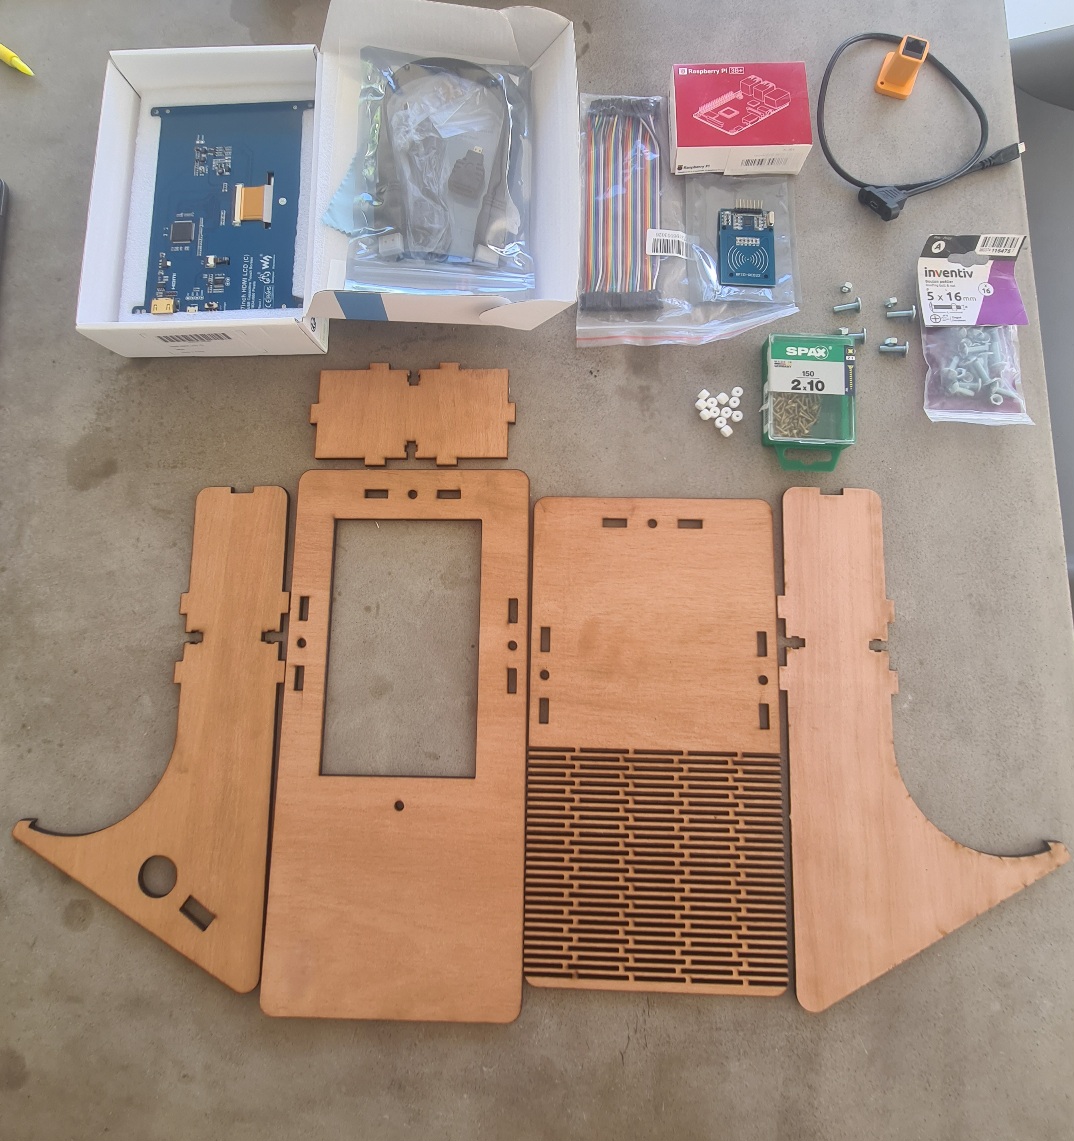
We will realease all steps to go from this :

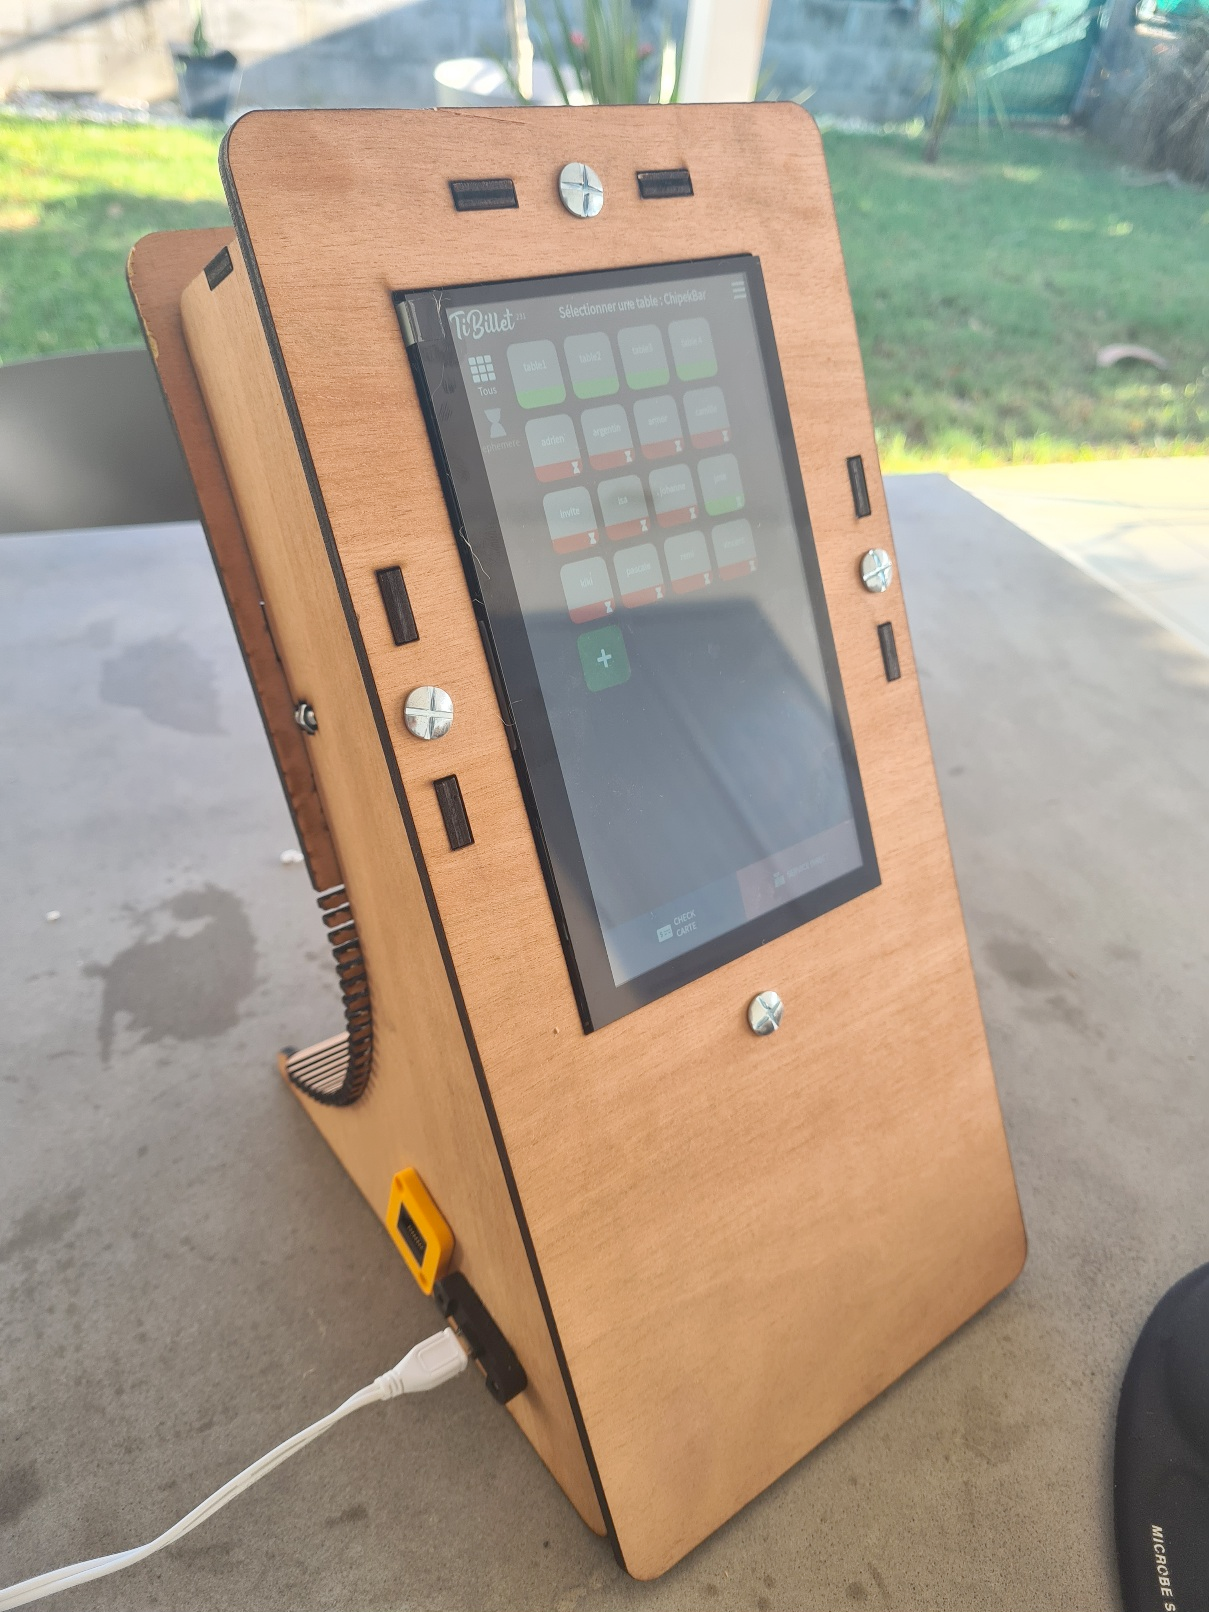
To this :

Here it's for 7inch screen.
We will see the differents step betwen 7inch screen an 10inch
To do this, follow these steps :
1 - BOM ( Bill Of Material)
2 - Lazer cut the body
3 - 3D-print accessories
4 - body assembly 7inch
5 - body assembly 10inch
1- We will start with the BOM :
- 1 X Access to FABLAB with :
- 3D printer
- Lazer cut able to cut 5 milimeters plywood
- 1 X raspeberry PI3B +
- 1 X Power supply for Raspberry
- 1 X micro SD cards (8Go mini)
- 7 X " Dupont " cables
- 1 X NFC card reader ( RC522 )
- 1 X USB capacitive touch screen : Waveshare 7inch HDMI LCD ( C ) (or 10.1inch HDMI LCD(G) )
- 1 X Plywood 5 mm ( qty depend if 7 or 10.1 inch)
- 1 X box of 2X10 universal screw
- 1 X box of Roofing bolt & nut 5X16
- 1 X precision screwdriver
For the 10’’ screen an additional USB-MicroUSB cable (guaranteeing power supply from raspberry).
Optionnal :
- 1 x Adaptateur RJ45
- 1 X small RJ45 Cable
- 1 X Adaptateur Micro USB
- 1 X keybord(if you have problem with SSH connection to the Raspberry)
- 1 X soldering iron kit ( if you by NFC card kit )